Portal - Personal Profile
With the option to switch between different accounts (please refer to the Account Selection article here for more details), if you manage multiple accounts you have the ability to review and make changes to your own account NOTE: this is the account that was used when you first signed up with Clearmatch.
1. To do this, log into the portal and from the middle menu on the right-hand side select Account > Personal Account from the drop down menu:

This will take you to the form that was originally filled in and submitted, that captured all of your personal details upon sign up.
You can also switch between the Personal Account and Business Account by clicking on the tab above the form NOTE : it will highlight to show which option that it is currently on:
2. Section A has the Personal Details form and you can make changes to any of the fields except your Date of Birth:

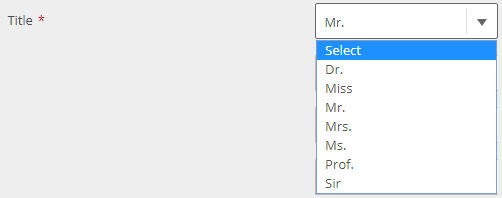
a. The Title drop down list has seven options to choose from and is mandatory for your account:
b. The First Name text field is used for your name (if for any reason it may have changed) and has a 50 character limit:
c. The Middle Name text field is optional and has a 200 character limit:
d. The Last Name text field is used for your surname (as it may change if you are getting married) and also has a 50 character limit:
e. The Gender option is a simple button that you can select and change if/when required:
f. The Date of Birth field stores your birthday that was used when you first signed up, but is locked NOTE: if you need to change your date of birth if any of the details are incorrect, contact the person with the appropriate access from your Finance Company to alter this:
g. The Marital Status drop down list has six options to choose from and can be changed if/when required:

h. The Dependants drop down list has 16 options to choose from (0 - 15) and can be changed if the number of dependants under your care has increased:

I. The Email Address text field can be used to alter the email address and is alphanumeric with a 120 character limit:
j. The Alias text field cannot be changed, but is the unique identifier to outline who you are (similar to a personalised customer number):
k. The About Me text field is used to outline details about you and why you have an account with Clearmatch (and is optional with a 300+ character limit):

3. Section B has stored your Contact Details and you can make the relevant changes to your contact numbers, your Tax Number and Driver’s License details:

a. The question Are you a New Zealand Resident is an option that you can select depending on the answer:
b. The Home Phone is a numeric field with a 10 character limit:
c. The Work Phone is a numeric field with a 10 character limit:
d. The Mobile Phone is a numeric field with a 10 character limit NOTE: this is mandatory and needs to be filled in:
e. The Tax Number is a text field which is alphanumeric with a 10 character limit NOTE: when entering your tax number, it will be masked with an asterix to avoid being shown on the screen:
f. The Driver's License is a text field which is alphanumeric and has a nine character limit:
g. The License State drop down list is only relevant if your driver’s license is dependent on a state NOTE: this may not be relevant in New Zealand:
4. Section C has your Employment Details where you can change your occupation, the name of your current employer, your employment status and your time with the current employer:

a. The Occupation drop down list has 10 options to choose from:

b. The Current Employer text field is used to outline who your current employer is (if applicable) which is alphanumeric with a 200+ character limit:
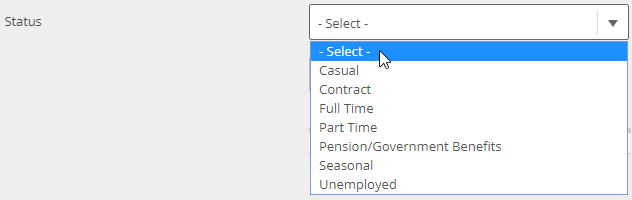
c. The Status drop down list is needed to identify your employment status and has seven options to choose from:
d. The Time with current employer has two drop down lists outlining the year and month that you have been employed with your current employer:
5. Section D displays your Address Details and you can make changes to your Residence Type, Address and how long you have lived at that address for. NOTE: once you have made the relevant changes, you must select the Save Details button directly underneath the form:

a. The Residence Type is a drop down list with five options to choose from and determines what your living situation is:

b. The Address field allows you to type in your physical address NOTE: it should automatically fill in the details while you are typing, but if the address is not showing (as it is relatively new or under development) you can click on the link to add your address manually:

c. The Lived here for has two drop down lists outlining the year and month that you have been living at your address:
d. The Mailing Address has a check box next to it that if enabled, it will use the same address as the physical address (as correspondence may be delivered to a different address):
6. Section E has your Account Details where you can change your password. Once you have changed the password, click on the Update Password button:

a. The Username text field is what is used to sign into the portal and is locked NOTE: if the username does need to be changed for whatever reason, please escalate to the appropriate person from the Finance Company to alter:
b. The Current Password text field allows you to enter your existing password for the portal (and is required if you are going to change it):
c. The New Password text field allows you to enter your new password for the portal:
d. The Confirm Password text field is required to ensure that it matches what has been entered in the New Password field above:
e. The Update Password button is all that is required to save the new password that was changed:
Related Articles
Portal - Business Profile
With the option to switch between different accounts (please refer to the Account Selection article here for more details), you can also change specific details that are associated with the business you are running. 1. To do this, log into the portal ...Portal - Account Selection
In Clearmatch, you have the capability and flexibility to be configured as different users (borrower, investor, beneficiary, etc) and you can switch between accounts whilst in the portal and use the system depending on which account is selected. 1. ...Portal - Sign In (Mobile)
The portal in Clearmatch has the ability to allow you to login with your mobile phone number if a username and password has not been created . To find out more how to register from the portal and creating a new username and password, click here. ...Portal - Staff Member At An Originator (Broker) Creating An Application For Finance
Staff member have the capability to create an application on behalf of a customer through Portal. Then the staff member will need to supply all the details of the customer. 1. To create an application on behalf of a customer login to portal with ...Portal - Legal and Docs
On the portal, there is a menu option located on the left hand side called Legal and Docs that provides a list of all relevant documents that you have the choice to download and review or upload if/when required: The documents that are displayed or ...